The Iris Pocket

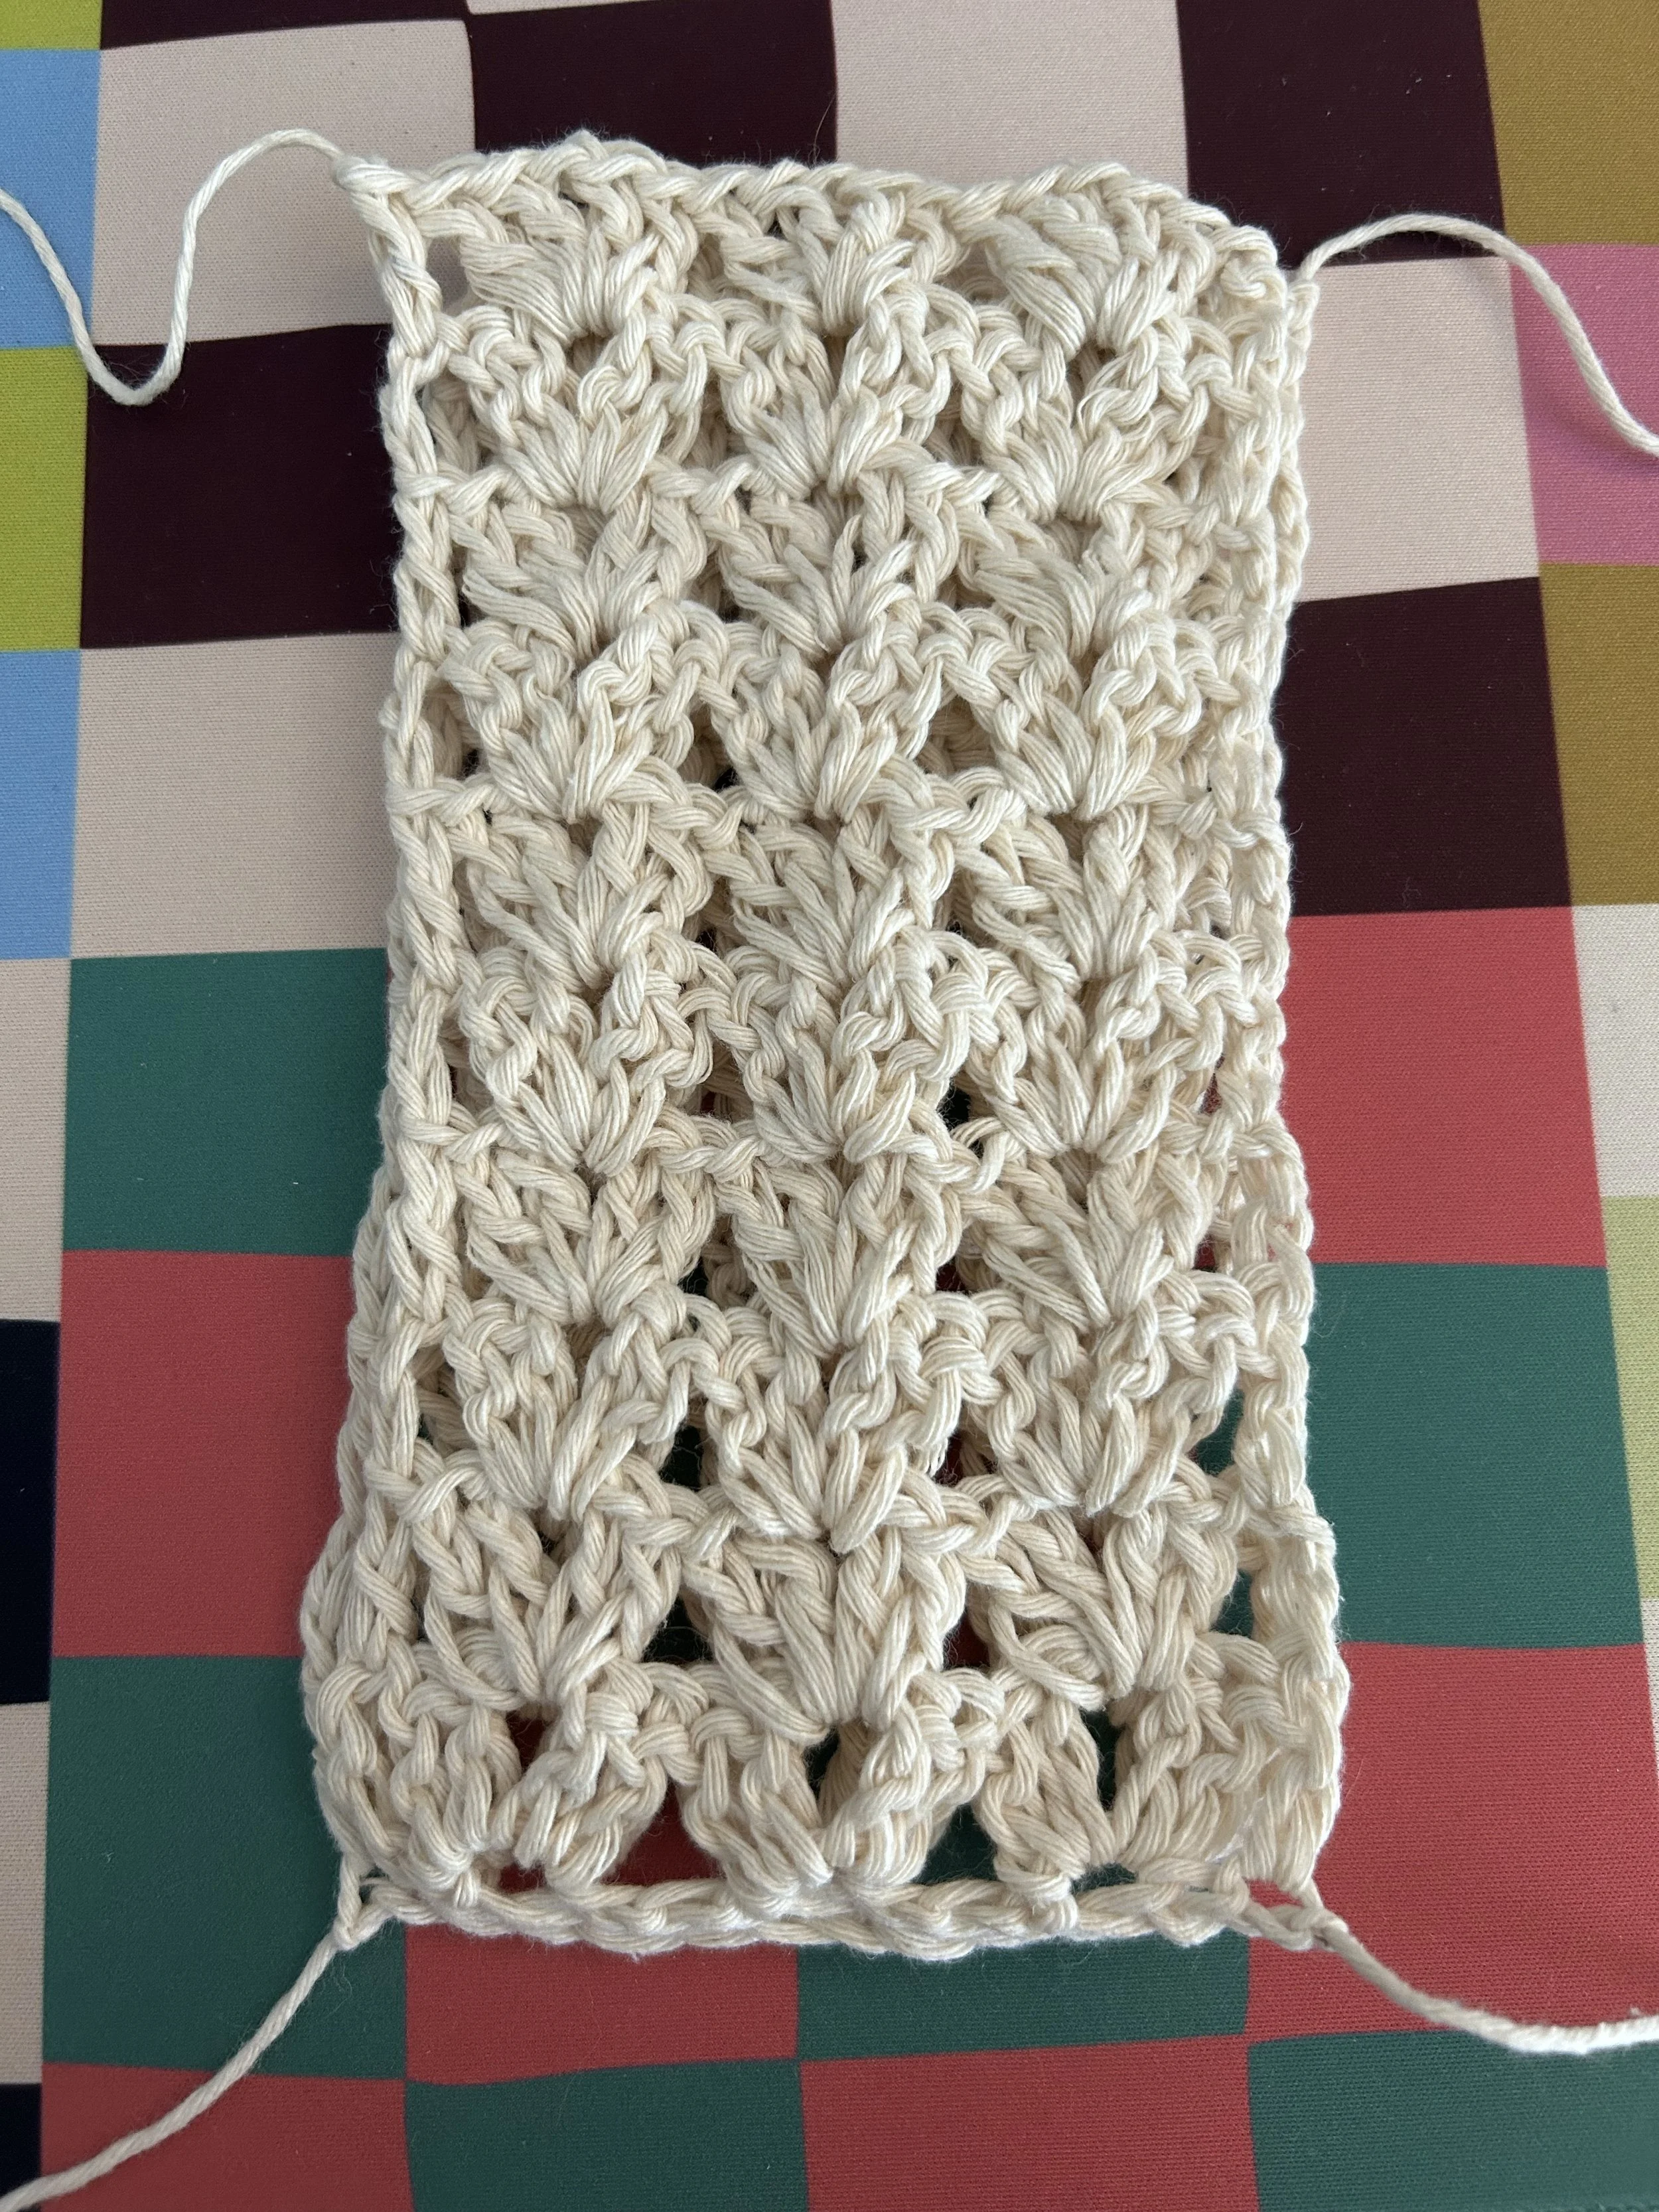
The finished Iris Pocket by Crybaby Crochet
Have some leftover worsted weight yarn and need a bit of inspiration? Perhaps you struggle with object permanence like I do and lost your sunglasses’ case? Or maybe you need a machine washable pocket to protect your phone, readers, scrunchies - whatever you may want to store separately in your purse. My family and I swear by these adorable crochet pockets!
Over the past year or so I’ve tried to create various versions of this pocket - some with granny squares, a few too big or too small, several too solid to prevent trapping heat - only to land with this delicate looking pocket which is sturdier than most other projects I’ve crocheted. Made up of several iris stitches for breathability and sturdy edging for durability, the iris pocket is my go-to, last minute gift.
If you’re my family or friends I’ve gifted this to and you’re reading this, you can stop here. Your present DEFINITELY wasn’t last minute and took me several hours of painstaking work.
Now, if you’re here for the pattern - it only takes about forty-five minutes and 54yds of yarn.
As you’ll likely be able to tell, this is my first pattern I’ll be publishing on any platform. Unfortunately this pattern includes a lot of oddly placed stitches to create the smooth edging, so if you have any trouble reading it please send me an email or message on socials! If there’s enough interest I may make a tutorial video as well, as I found the visuals attached to this pattern to be a helpful demonstration.
What You’ll Need
Size G/4.00mm crochet hook
33g/54yds of Lion Brand Re-Up Yarn (Cotton and Polyester Blend) OR any #4/worsted/medium weight yarn**
Scissors
1 tapestry needle
**Note for Yarn Choice: In tests I found a similar worsted weight type of yarn commonly sold in stores includes Big Twist acrylic and Loops and Threads cotton. If you’re looking for a more snug or larger fit but still in a yarn labeled as worsted weight, Lion Brand Pound of Love I found to work up smaller and Caron One Pound slightly larger. The Lion Brand Re-Up yarn I found works best for its drape so you can squeeze the pocket through the handle more easily to slipknot around a purse handle or bag, and tolerates heat well in warmer weather.
Abbreviations
sl st - slip stitch
ch - chain
dc - double crochet (US terms)
iris st - [2dc, ch, 2dc] into same space
sc - single crochet (US terms)
The Pattern
Front and Back Panels
Ch 16
Row 1: dc into 6th ch from hook. Into same st - dc, ch, 2dc. [Skip next 3ch. Into 4th ch st 2dc, ch, 2dc]. Repeat pattern in [brackets]. Skip 1 ch, then dc into last ch remaining.
Row 2-9: Ch 3. [Into next ch space 2dc, ch, 2dc]. Repeat pattern in brackets two more times, then dc into top ch st from the ch3 in previous row.
Row 10: Ch 3. [Into next ch space 2dc, ch, 2dc]. Repeat pattern in brackets two more times, then dc into top ch st from the ch3 in previous row. Ch 1, then fasten off.
Ch 16, then repeat rows 1-10 in the pattern above to crochet 2 identical panels in total.
Assembly
Lay the two panels flat so that the wrong sides of row 10 are facing one another. The right side of row 10 in the panel on top should be facing you.
In the top left corner of your panels, join your yarn into the space between the iris st (the cluster of 2dc, ch, 2dc) and the final dc of the row for your front panel. 5sc to join the two panels, then sc into the edges of the iris stitches to join them together. [3sc, then sc into the edges of the iris stitches to join the 2 panels together]. Repeat the pattern in brackets until you reach the corner space between your first ch st and row 1.
7sc around the edges of the 2 panels to join the corners together. [Sc into the same ch sts as your iris sts were made, then 4sc]. Repeat pattern in brackets twice, then 3sc around to finish joining the corners.
[Sc into edges of the iris sts of both panels, then 3sc]. Repeat pattern in brackets until you reach row 10 (the final corner space). 2sc, then sc into same space but in the front panel only.
In front panel only, sc into next 2dc sts, sc into ch space, sc into next 4dc sts. 3sc into ch space, then sc into next 4dc sts, sc into ch space, sc into next 2dc sts, and then sc into corner space of front panel only. Sl st into starting sc for edging, then turn so the back panel is facing you.
In back panel only, sc into corner space, then sc into next 2dc sts, sc into ch space, sc into next 4dc sts.
To make the handle, sc into ch space, then ch 40. Sc back into ch space where handle started (in back panel, ch space of middle iris stitch). Then sc into next 4dc sts, sc into ch space, sc into next 2 dc sts. Lastly sc into corner space of back panel only, then sl st into 5th sc of corner to join.
Ch 1, fasten off, weave in ends.
You’re Done!
If you end up making this pattern and sharing a post, please see Crybaby Crochet’s homepage for the various handles on social media! I’d love to hear your feedback good or bad so I can improve on patterns or tutorials I might make in the future.
Additionally, while this pattern is free, please check out our donate page if you wish to make a contribution to PCRF!